Easy basic step-by-step gua sha facial that you can do at home
Gua sha is nothing new, it's been around for thousands of years. It's a practice in ancient Chinese medicine and the results are just amazing. You're not only changing the outside structure of your face by lifting sculpting de-puffing you're also really changing the function of your skin from the inside by promoting healthy lymph flow, you're allowing more oxygen, blood circulation allowing everything just to work better function better and that's going to allow your skin to improve from the inside, build more elasticity and just breathe.
You may have received a free guasha with your moisturiser, here's the tutorial for you.
Before you get started, remember to drink lots of water, it's really important to stay hydrated. You're going to be moving lots of lymph toxins and you want to make sure you're drinking plenty of water before during and after.
Next you're going to pick your gua sha tool.
I really recommend that when you're working with the neck and the face that you're using a real stone or crystal. Aussenskin gives you a genuine jade stone gua sha with your moisturiser.
Start on a clean, fresh face so make sure your face is completely clean, pick your product that you're going to use to help your stone glide. You can use oil, hydrating mist or lotion. Make sure it's not going to make you break out, something that is rich in nutrients and is non-toxic.
Start by releasing the lymph from the neck first, this is very important a lot of people don't know that and they go straight to the face so if you're moving fluids around in your face and you're not allowing those fluids to have any place to flush out.
Take your stone and use the larger curved part. Start with the back of your neck right at the base and because it's your spine, be very gentle.
Start to sweep the stone very slowly up all the way to the base of the skull.
Next, do the side of the neck. Start at the top of the shoulder and hold your gua sha very flat with a bit more pressure, gliding it to the base of the skull.
Finish the side of the neck by being more gentle as you are gliding over a major lymphatic pathway. Start right at the back of the ear and go all the way down to the front of the clavicle, very slow and gentle.
Next is the front of the neck. Start right below your clavicle and glide up right in front of your trachea with light pressure.
Next move to the bottom of your chin, slide underneath the chin all the way up to the ear and back down the side of the neck.
Then move to the face. You may want to finish one side of your face first to see the difference or repeat the same movement on both sides at the same time.
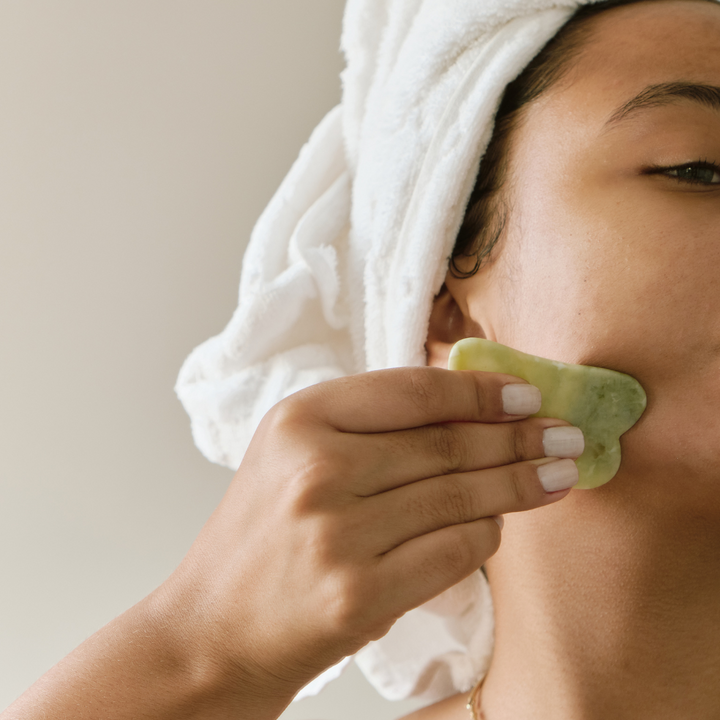
Next, move to your mouth area and work on your laugh lines.
Holding your lips with one hand, glide the guasha from the mouth to the ear.
This one is for those of you who clench your teeth or grind or hold your jaw tightly.
Start at the jaw line and using the flat side of the gua sha, slide up the face.
Now to the middle part of the face. Support your nose with one hand and glide the gua sha all the way from your nose into your hairline.
This is if you get puffy eyes like me and dark circles. Gently sweep the gua sha underneath the eye being very delicate on the soft skin under the eye.
Next is my favourite, the eyebrow. I seem to hold a lot of tension in my forehead and eye area. This is also awesome for people who suffer from sinus issues.
Hold the inner edge of your eyebrow with your fingers and glide the gua sha underneath the eyebrow towards the hairline. Give it a little jiggle at the end. The heart shape of the gua sha is perfect for this.
Move to your forehead. Take the large flatter side of the gua sha, hold your skin with your fingers and glide the gua sha across the forward starting in the middle and moving towards the hairline.
Finish off by gliding the gua sha down the neck to move any lymph that has been released and drink a glass of warm water.
To watch how to do this, click here:
https://youtu.be/XV24Q1Jaoh8
https://youtu.be/XV24Q1Jaoh8

